Padlet is a software which continuously adapts to user input. It is a user-friendly interface therefore, anyone can use the app with ease. The tools and its functionality are very straightforward so confusion is avoided. It is an easy to navigate app which makes it very adaptive to whatever learning experience you want to provide your students.
To show how adaptive Padlet is in crafting your flow of the lesson, Padlet can provide you many options on how you can creatively present your lesson. For example, you are going to compose an adaptive strategy for your learning resource to prepare your lesson. This time you will be needing a higher bandwidth and higher immediacy for the virtual reality experience you will give to your students.
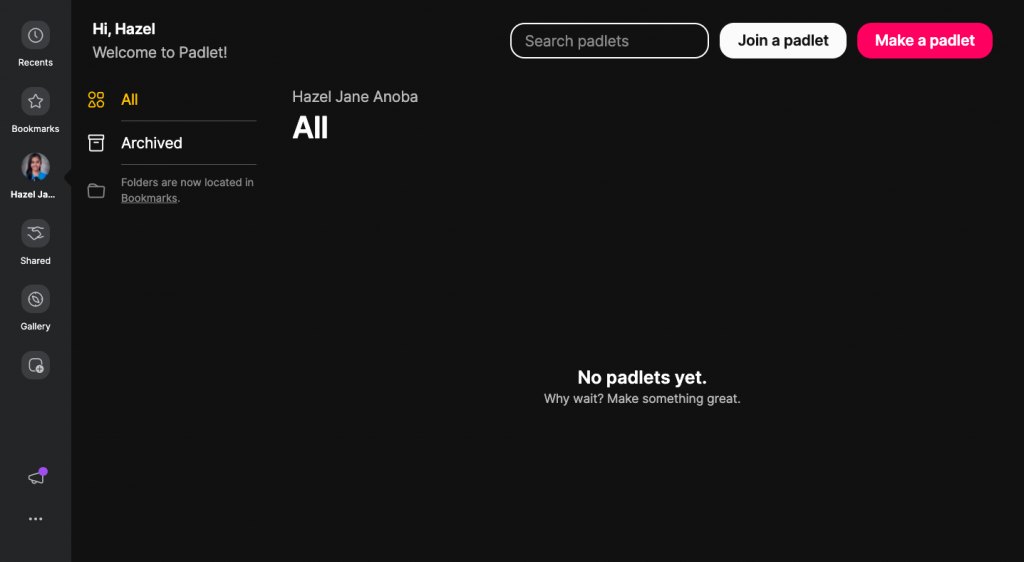
- Open your Padlet application or browser and access https://padlet.com/.
- After logging in using your google account, select “Make a padlet”.

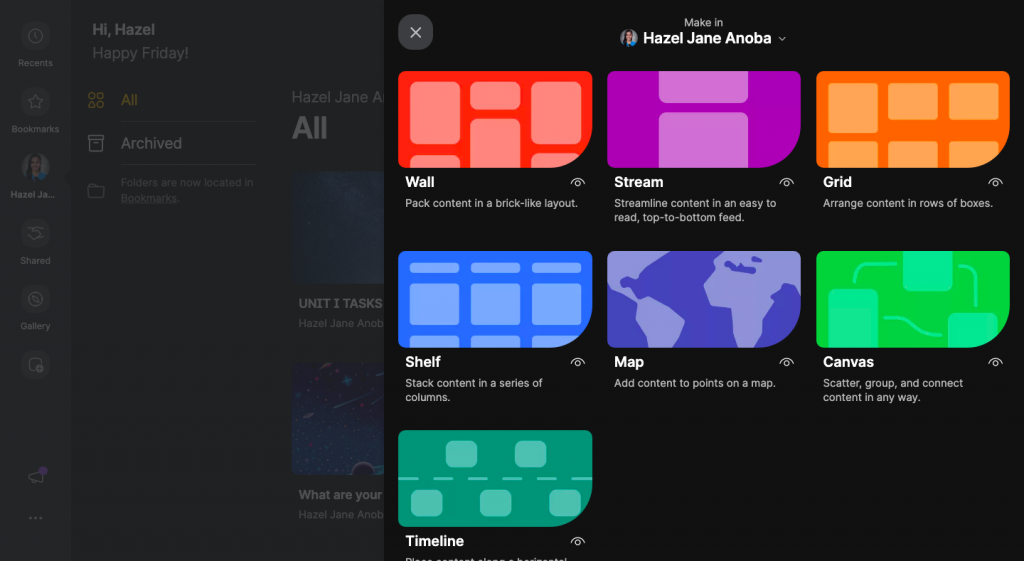
3. Pick your preferred template. In this case, I chose the “Timeline” type.

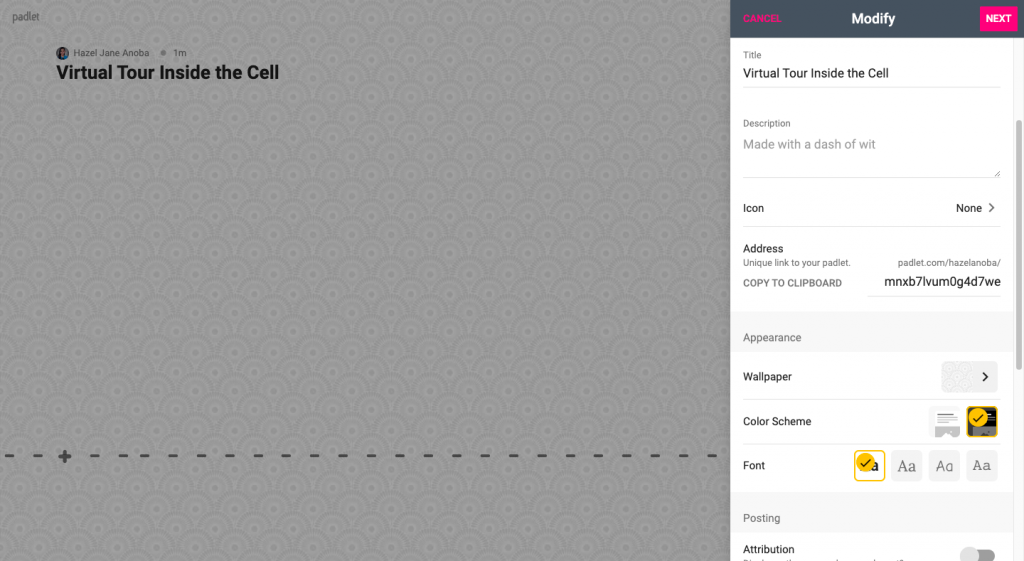
4. Edit the name of your document to your desired title.
You may also edit the appearance of your Padlet.

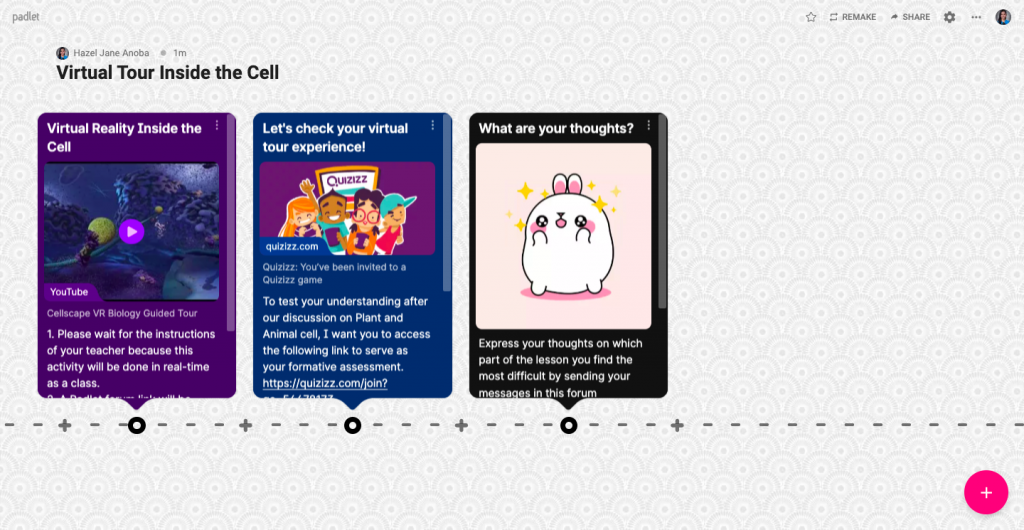
5. Click the + sign to make the first task to be completed by the students. Click the + sign for as many tasks you want your students to accomplish for a specific time that you want them to complete the tasks.

5. And you are all set for your adaptive learning resource using Padlet!
The previous pages giving you the tutorial are only few of the options that you can make for your Padlet. You can make very much improved version of your Padlet as you make use of the application in your journey in utilizing technology in education. The Te(a)ch Edvocates are hoping that this blog is helpful and informative to kickstart your tech journey. Using technology should not be feared neither is exploring outside your comfort zone in giving your best to your students. We hope to see you in Padlet and you can message the bloggers through our contact details in our Google sites. We cannot wait to hear from you soon!
